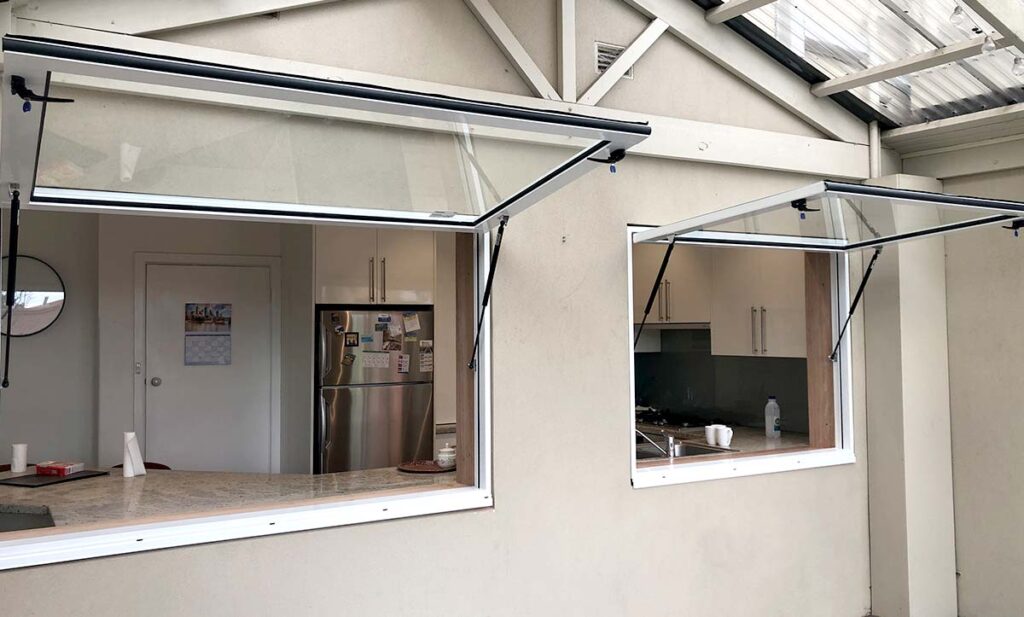
Gas struts, also known as gas springs or gas shocks, play a crucial role in a variety of applications, from automotive hoods and trunks to furniture, cabinets, and machinery. Over time, these struts can wear out, leading to reduced functionality and safety concerns. Fortunately, replacing gas struts is a relatively straightforward process that can be done with some basic tools and a little know-how. In this step-by-step guide, we’ll walk you through the process of replacing gas struts to restore functionality and safety to your equipment or vehicle.
Step 1: Safety First
Before you begin, it’s essential to prioritize safety. Gas struts are under pressure and can exert force when removed, potentially causing injury. Make sure you have safety glasses and gloves on hand, and work in a room with good air flow and no open fires or sparks.
Step 2: Identify The Type Of Gas Strut
The first step is to identify the type of gas strut you need to replace. Measure the length of the strut when fully extended and fully compressed. Also, take note of the end fittings and the diameter of the strut. This information is crucial when ordering a replacement strut to ensure it matches the specifications of the old one.
Step 3: Gather Your Tools
To replace gas struts, you will need the following tools:
- Screwdriver or pliers (for removing retaining clips or fasteners)
- Wrench or socket set (for removing mounting brackets)
- Replacement gas struts
- Safety goggles and gloves
- Assistant (optional for holding heavy lids or doors)
Step 4: Release Pressure
Before you can remove the old gas strut safely, you must release the pressure within it. To do this, use a screwdriver or pliers to remove any retaining clips or fasteners securing the strut to the mounting brackets. Once the strut is free, gently push down on it to release any residual pressure. Be cautious and avoid sudden movements to prevent accidents.
Step 5: Remove The Old Gas Strut
With the pressure released, you can now remove the old gas strut. Use your wrench or socket set to loosen and remove any mounting brackets or fasteners securing the strut to the equipment or vehicle. Pay attention to the orientation of the strut during removal, as you’ll need to install the new one in the same way.
Step 6: Install The Replacement Gas Strut
Now comes the time to install the replacement gas strut. Begin by attaching one end of the strut to the mounting bracket or pivot point. Make sure the orientation matches that of the old strut. Some gas struts have a specific “up” or “down” direction, so be mindful of this.
Step 7: Secure The Other End
With one end attached, carefully align the other end of the replacement gas strut with its corresponding mounting point. Use your wrench or socket set to secure it in place, ensuring that it’s firmly attached but not over-tightened, as this can damage the strut.
Step 8: Test The New Strut
Before fully closing or using the equipment or vehicle, it’s essential to test the new gas strut to ensure it’s working correctly. Open and close the lid or door slowly to check for smooth operation and proper support. If the strut functions as expected, you’re on the right track.
Step 9: Reattach Retaining Clips Or Fasteners
Once you’ve confirmed that the new gas strut is functioning correctly, reattach any retaining clips or fasteners that you removed in Step 4. These clips help secure the strut in place and prevent it from accidentally coming loose.
Step 10: Final Check And Adjustment
Do one last check to make sure that all the parts are firmly attached and that the new gas stem is working right. Make any necessary adjustments, and you’re all set.
In conclusion, replacing gas struts can be a simple and cost-effective way to restore functionality and safety to various applications, from vehicles to furniture and machinery. If you follow this step-by-step guide, you’ll be able to repair old, worn-out gas struts with confidence. This will keep your operation safe and smooth for years to come. Remember always to prioritize safety and consult your equipment’s user manual or seek professional assistance if you’re unsure about any aspect of the replacement process.


