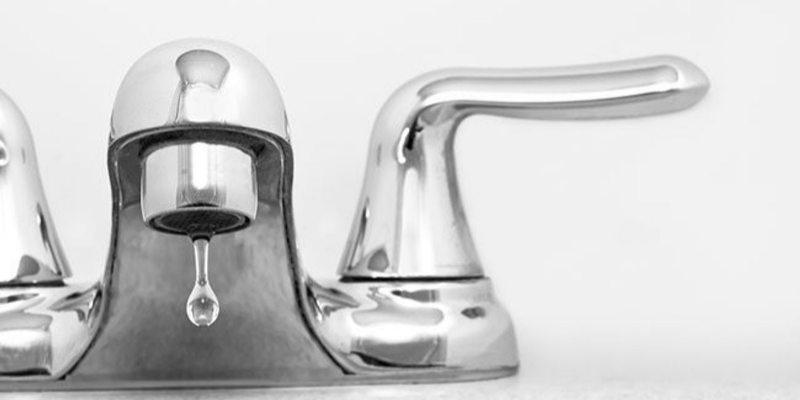
Everyone understands the importance of the kitchen, and we always strive to keep it as functional as possible. However, there may be times when we do not notice leaks on certain parts of it, such as broken pipes or dripping faucets. I understand how frustrating it is, but fear not: there will always be a solution to that problem. So, if you’re looking for the simplest way to repair those dripping faucets, you’ve come to the right place. Here, we will provide you with the best advice and solutions to your problem.

6 Steps to Fix Your Kitchen Mess
- Turn Off the Main Water Supply
The first step is to stop all water from entering and exiting your water lines, so turning off the main water supply is the best option. Here’s the thing: even if you have a separate line for cold and hot water, you should still turn it off to avoid other leaks. However, you must inform everyone in the house to turn off the water while you repair the dripping kitchen faucet.
- Remove the Decorative Cap on The Handle
The next step is removing the decorative cap from the faucet’s handle. There are screws there that you must unscrew to get the entire thing. In many cases, you can use hex screws or Allen screws. After you’ve removed the screws, tilt the handle back and remove it altogether. There you have the entire faucet that needs to be checked.
- Lift the Ball Assembly

After unscrewing the cap, you’ll notice a ball assembly. The ball is usually made of brass or plastic and has a lever attached to it and unique holes through which water flows. Furthermore, two rubber seals with individual springs connected beneath the ball assembly. The ball should then be inspected for signs of mineral build-up or wear. If the ball is damaged, it is time to change it. Remove the seals on the bottom of the faucet’s body with a small flat screwdriver. Remember to place the items you removed in the kitchen sinks or on the countertop to avoid losing them.
- Replace the Seals and Springs
Before replacing necessary materials such as springs and seals, inspect the inside of the material to see if there are any additional damages or mineral build-up. To clean the faucet valve seat, use a special liquid or vinegar. Please make sure the ones you have now are durable and will last a long time before you must replace them. You can now replace the seals and springs. To make things easier for yourself, you can use a small flat screwdriver or a pencil to do the trick, but make sure to fit them in place to avoid having to start over.
- Reinstall the Faucet
After you’ve installed everything correctly, screw the cap onto the faucet’s body. It would help if you also took care not to overtighten it, as this will make it easier to remove when you need to recheck it. Remember that if the faucet is too tight, the ball will stay in place, and the tap may leak again. Lock it but not too close to avoid problems in the future.
- Test the Faucet
The final step is to test the faucet to ensure that you have resolved the issue. First, turn on the main water supply, then the kitchen faucet. Check to see if there is still dripping; if not, you are good to go.
To Summarize
These simple steps to repair your dripping faucet are simple to follow, and you may not need to call a plumber. You can even solve this problem independently if you have the appropriate tools.


